

Rhizomes to Arrangements
LOGIN TO SHOP • PRAISE • CONTACT
A guide to working with bearded iris.

Bearded Iris for Cut Flower Farmers:
Bearded irises (Iris germanica) offer bold, architectural beauty, intoxicating fragrance (some say they smell like root beer, vanilla or grape soda), and good vase life when harvested at the right stage.
This perennial thrives in many climates and, once established, produces abundantly with minimal care. And multiplies quickly! They bloom in what may be the widest range of colors for any kind of flower - from true blue and even black, to red, orange, yellow, brown, pink, lavender and everything in between. Here’s how to grow them successfully for cut flower production.
1. Planting Bearded Iris
Timing
Best time to plant: Late summer to early fall (July–September, depending on your zone). For this reason, our bearded iris rhizomes are shipped in late summer.
This allows rhizomes time to root before winter dormancy.
Site Selection
Sunlight: Full sun (6–8 hours minimum).
Soil: Well-drained, neutral to slightly alkaline soil.
Avoid areas where water pools or soils stay heavy and wet in winter—this promotes rot.
Spacing
Space rhizomes 12–18 inches apart in rows, with 18–24 inches between rows for airflow and easy access.
For cut flower farming, plant in long beds in blocks or staggered rows to maximize yield per square foot.
Planting Depth
Rhizomes should be planted just below the soil surface, with the tops slightly exposed or barely covered—do not bury deeply.
2. Growing & Maintenance
Watering
Water lightly after planting to settle soil.
Once established, bearded iris are drought-tolerant, but benefit from occasional deep watering in dry spring spells.
Avoid overwatering.
Fertilization
If you’d like to feed your plants wait until they are well established. Apply a low-nitrogen fertilizer (e.g., 5-10-10) in early spring and again after blooming.
Avoid high nitrogen fertilizers—it encourages foliage at the expense of blooms and can cause rot.
Weeding & Mulching
Keep beds weed-free; irises hate competition.
Avoid heavy mulch that holds moisture near rhizomes.
Use landscape fabric between rows to suppress weeds while keeping crowns dry.
Pest & Disease Monitoring
Watch for:
Iris borers (cut out affected foliage, destroy rhizomes if tunneled).
Soft rot (foul smell, mushy rhizomes—dig out and discard).
Leaf spot (clean up dead foliage, improve airflow).
Winter Care
In colder zones (4–6), a light mulch after the ground freezes can help prevent heaving. We sweep a little mulch over our exposed rhizomes for winter protection here in zone 4/5. But we’ve also seen iris rhizomes that have been left out on top of beds over winter survive and put on new growth while rooting down into the soil below them. They are hardy!
3. Harvesting Bearded Iris for Cut Flowers
Harvest Timing
Harvest when the first bloom on the stalk is showing color or just barely starting to unfurl, with the rest still in tight buds.
This ensures the longest vase life and safe transport.
Iris harvested at this stage can be shipped to customers.
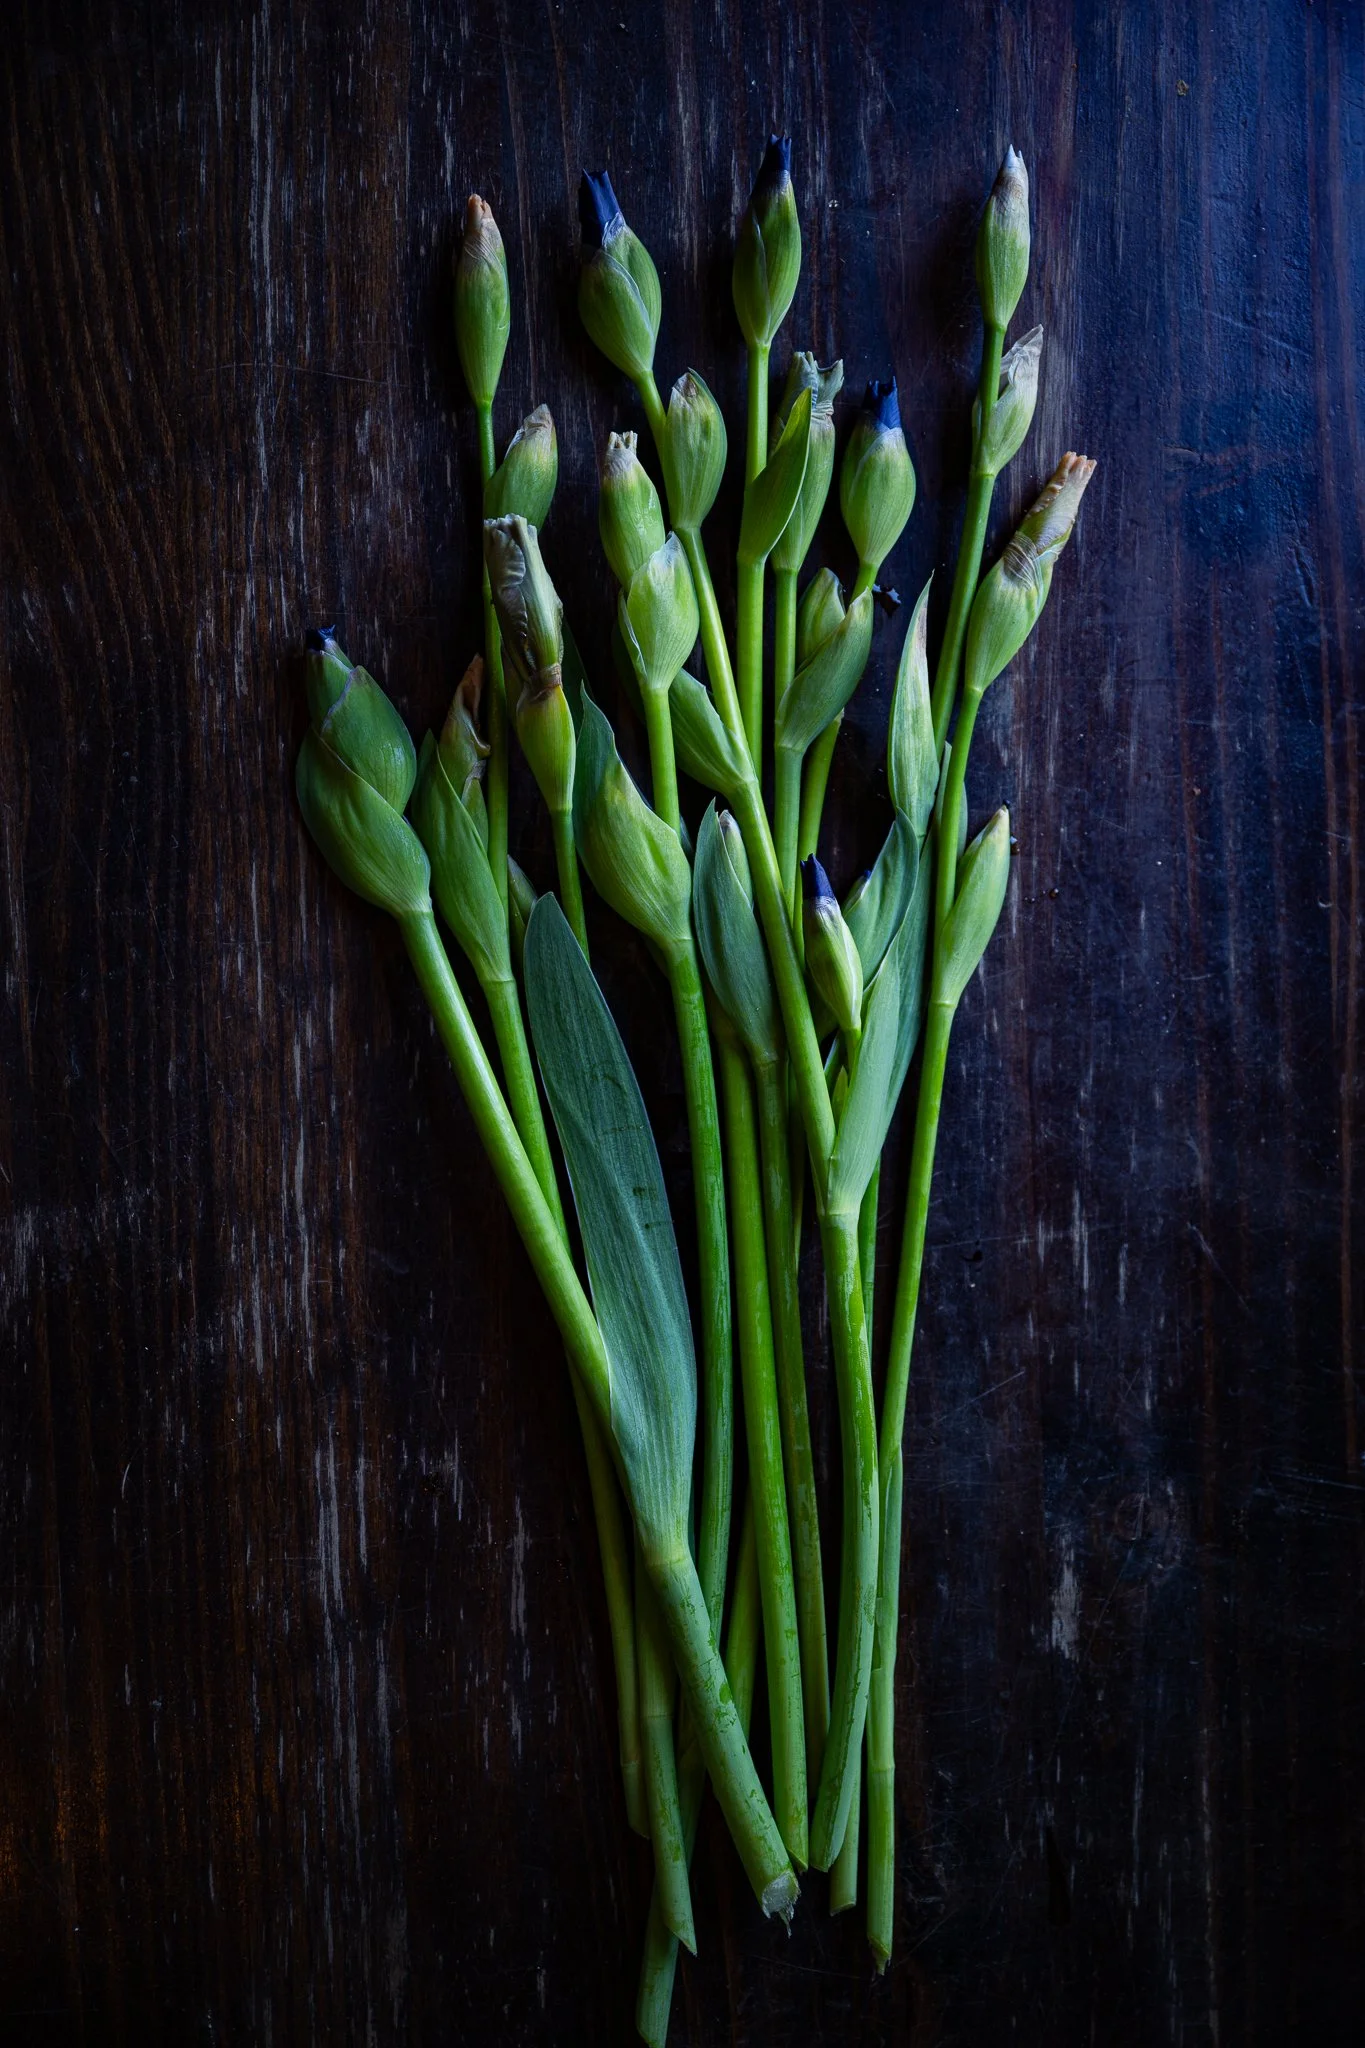
Bearded iris harvested at the proper stage for sales or shipping.
Cutting Technique
Use clean, sharp snips.
Cut low on the stalk, leaving 2–3 inches above the rhizome.
Do not remove all the fan foliage—leave at least half the fan for plant health.
Post-Harvest Handling
Immediately place stems in clean, cool water.
Store at 36–38°F if not using immediately.
Vase life: 5–7 days, depending on the stage cut and care. Iris blossoms flower in succession, opening one after the other. Remove spent blooms and enjoy the flowers to come!
4. Dividing & Propagating for Continued Production
Why Divide?
Bearded iris clumps become overcrowded after 3–5 years, leading to reduced flowering.
Division rejuvenates plants and gives you more stock to expand your rows.
When to Divide
4–6 weeks after blooming, typically in late summer (July–August).
How to Divide
Dig up entire clump with a garden fork. Iris clumps will form a ring or crescent shape when they are ready for division. It’s easy to tell when they are ready and fun to see how many new plants you can make! Divide them into single rhizomes for the most new plants. To preserve the following year’s flower production leave at least 3 connected rhizomes.
Trim leaves to 6 inches to reduce stress.
Snap or cut rhizomes apart, keeping plump, firm segments with visible fans.
Discard old, woody, or rotted sections.
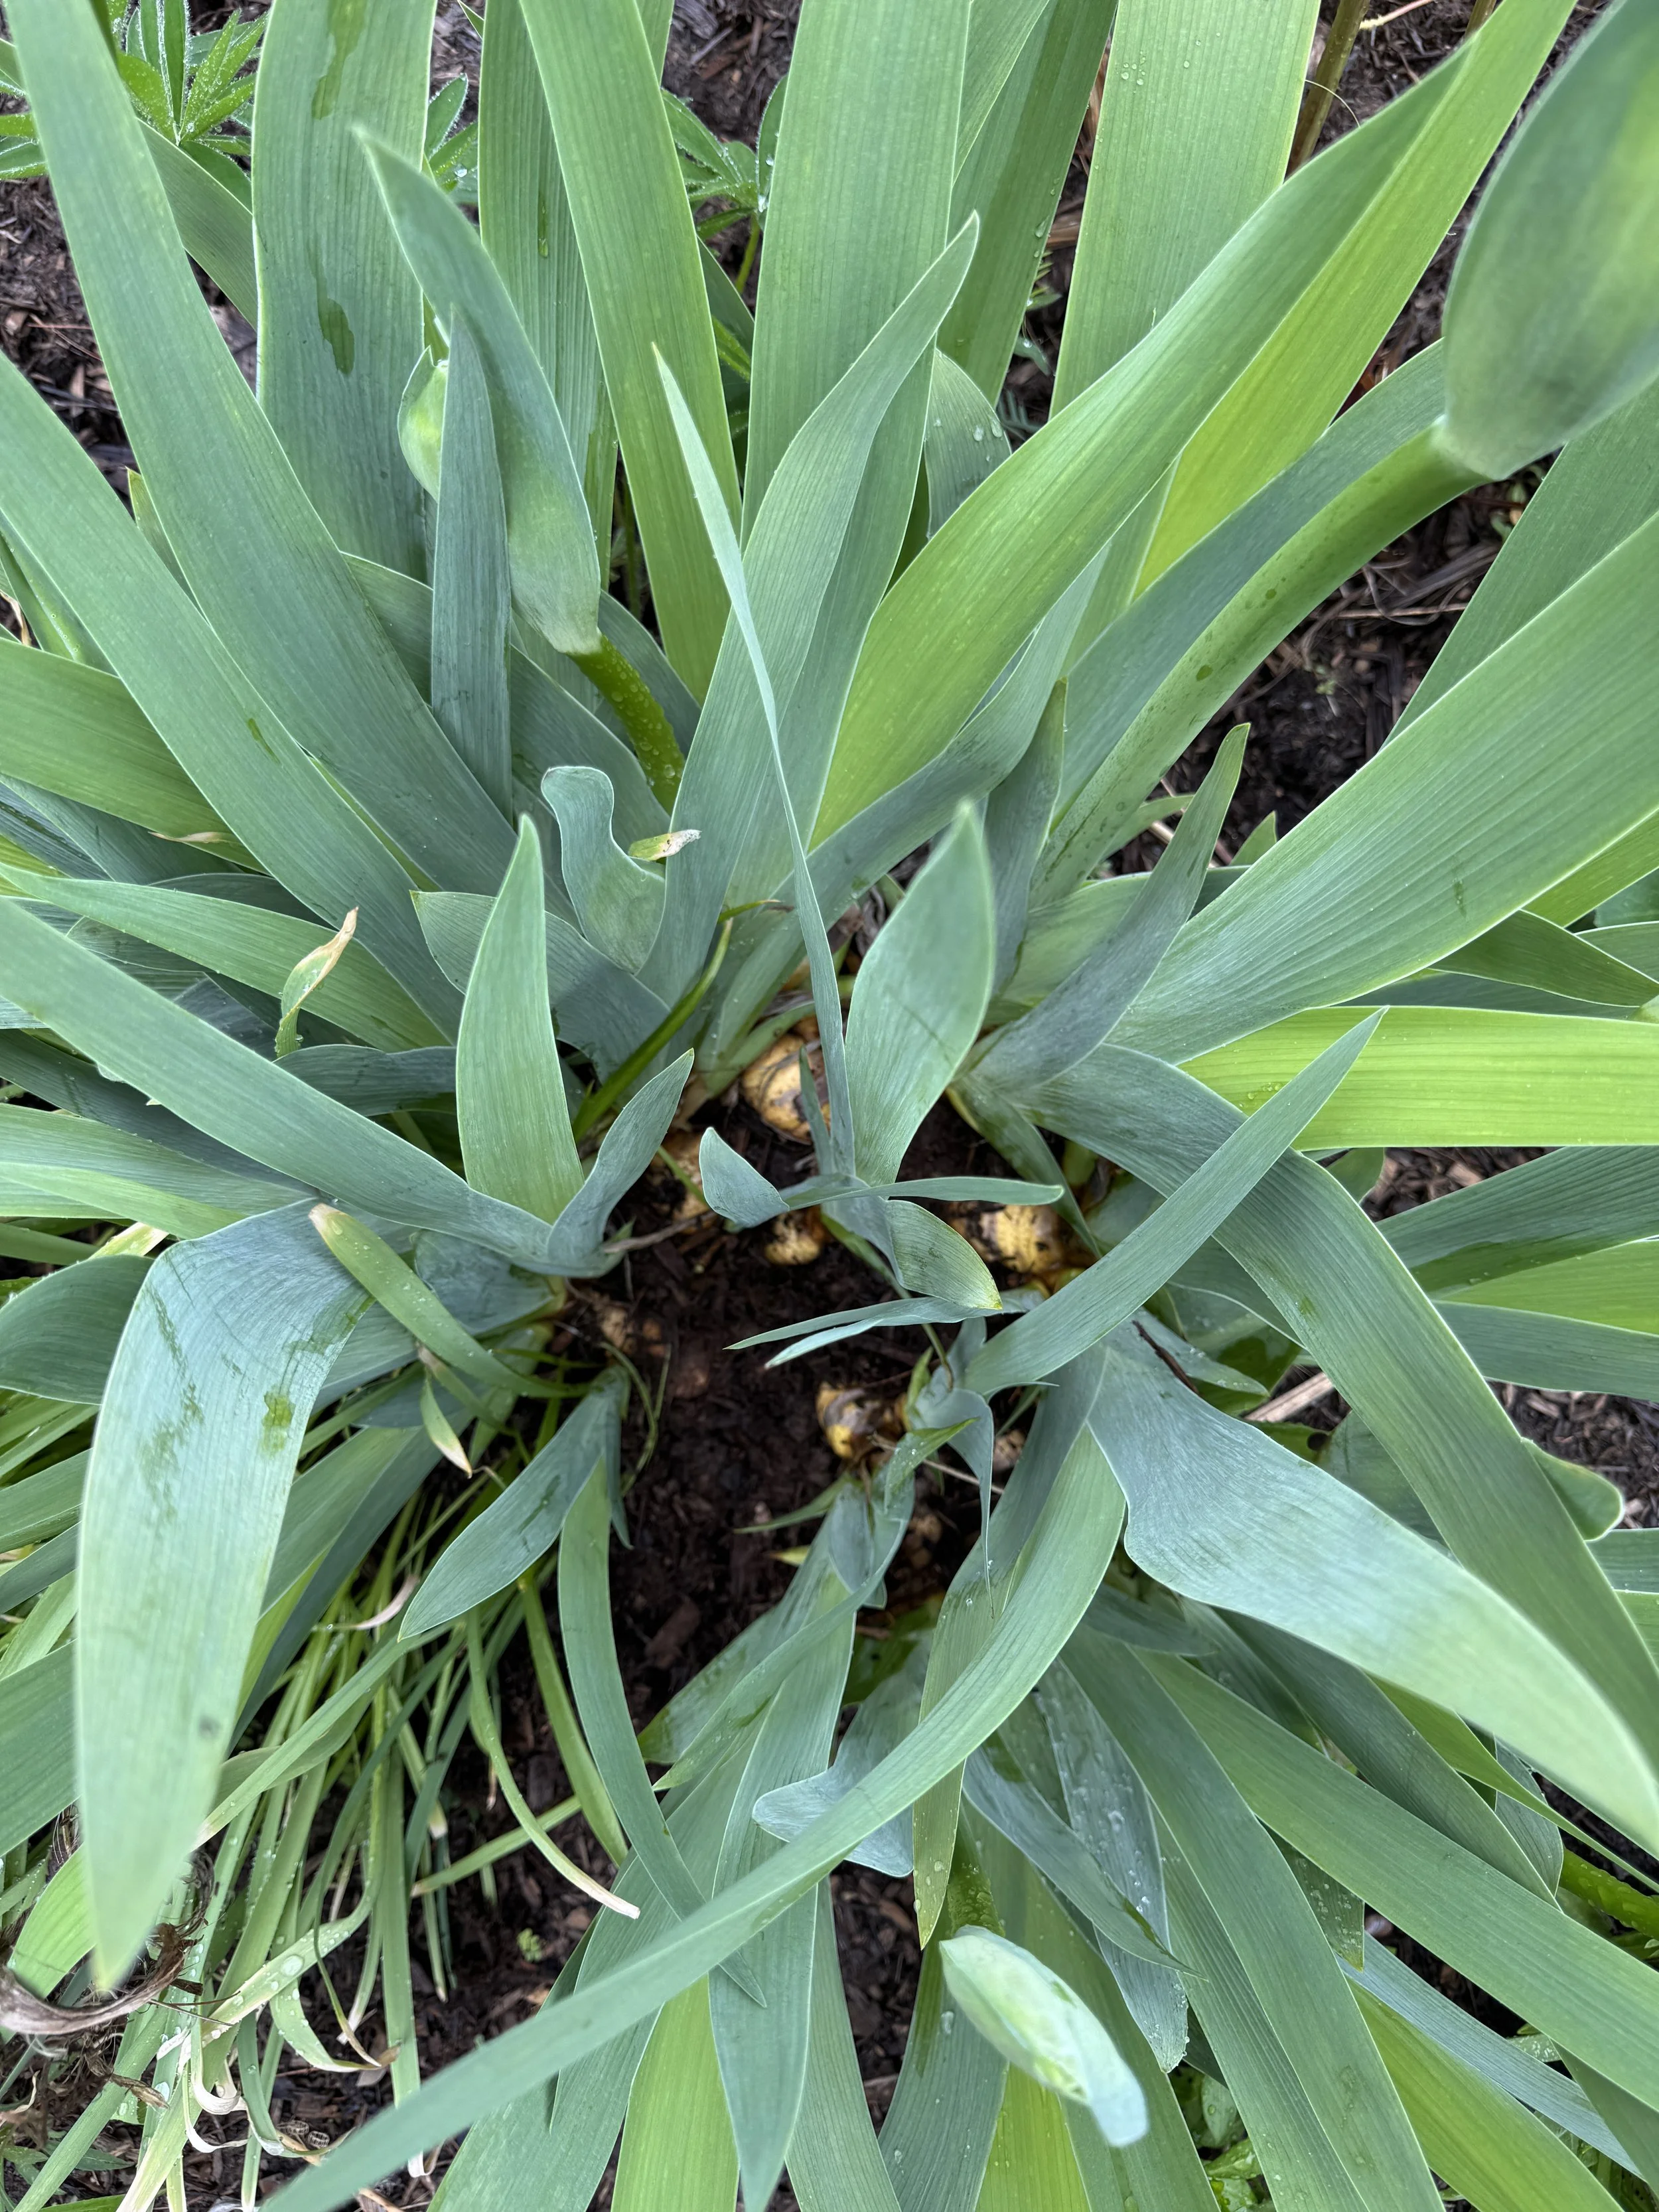
A 3-year-old bearded iris rhizome “circle” of 12 divisible rhizomes in our display garden. This plant could be divided into 12 new plants - or larger clumps with three rhizomes each to preserve flowering for each portion the following year. Single rhizomes can bloom the following year, but sometimes take a season to settle in.
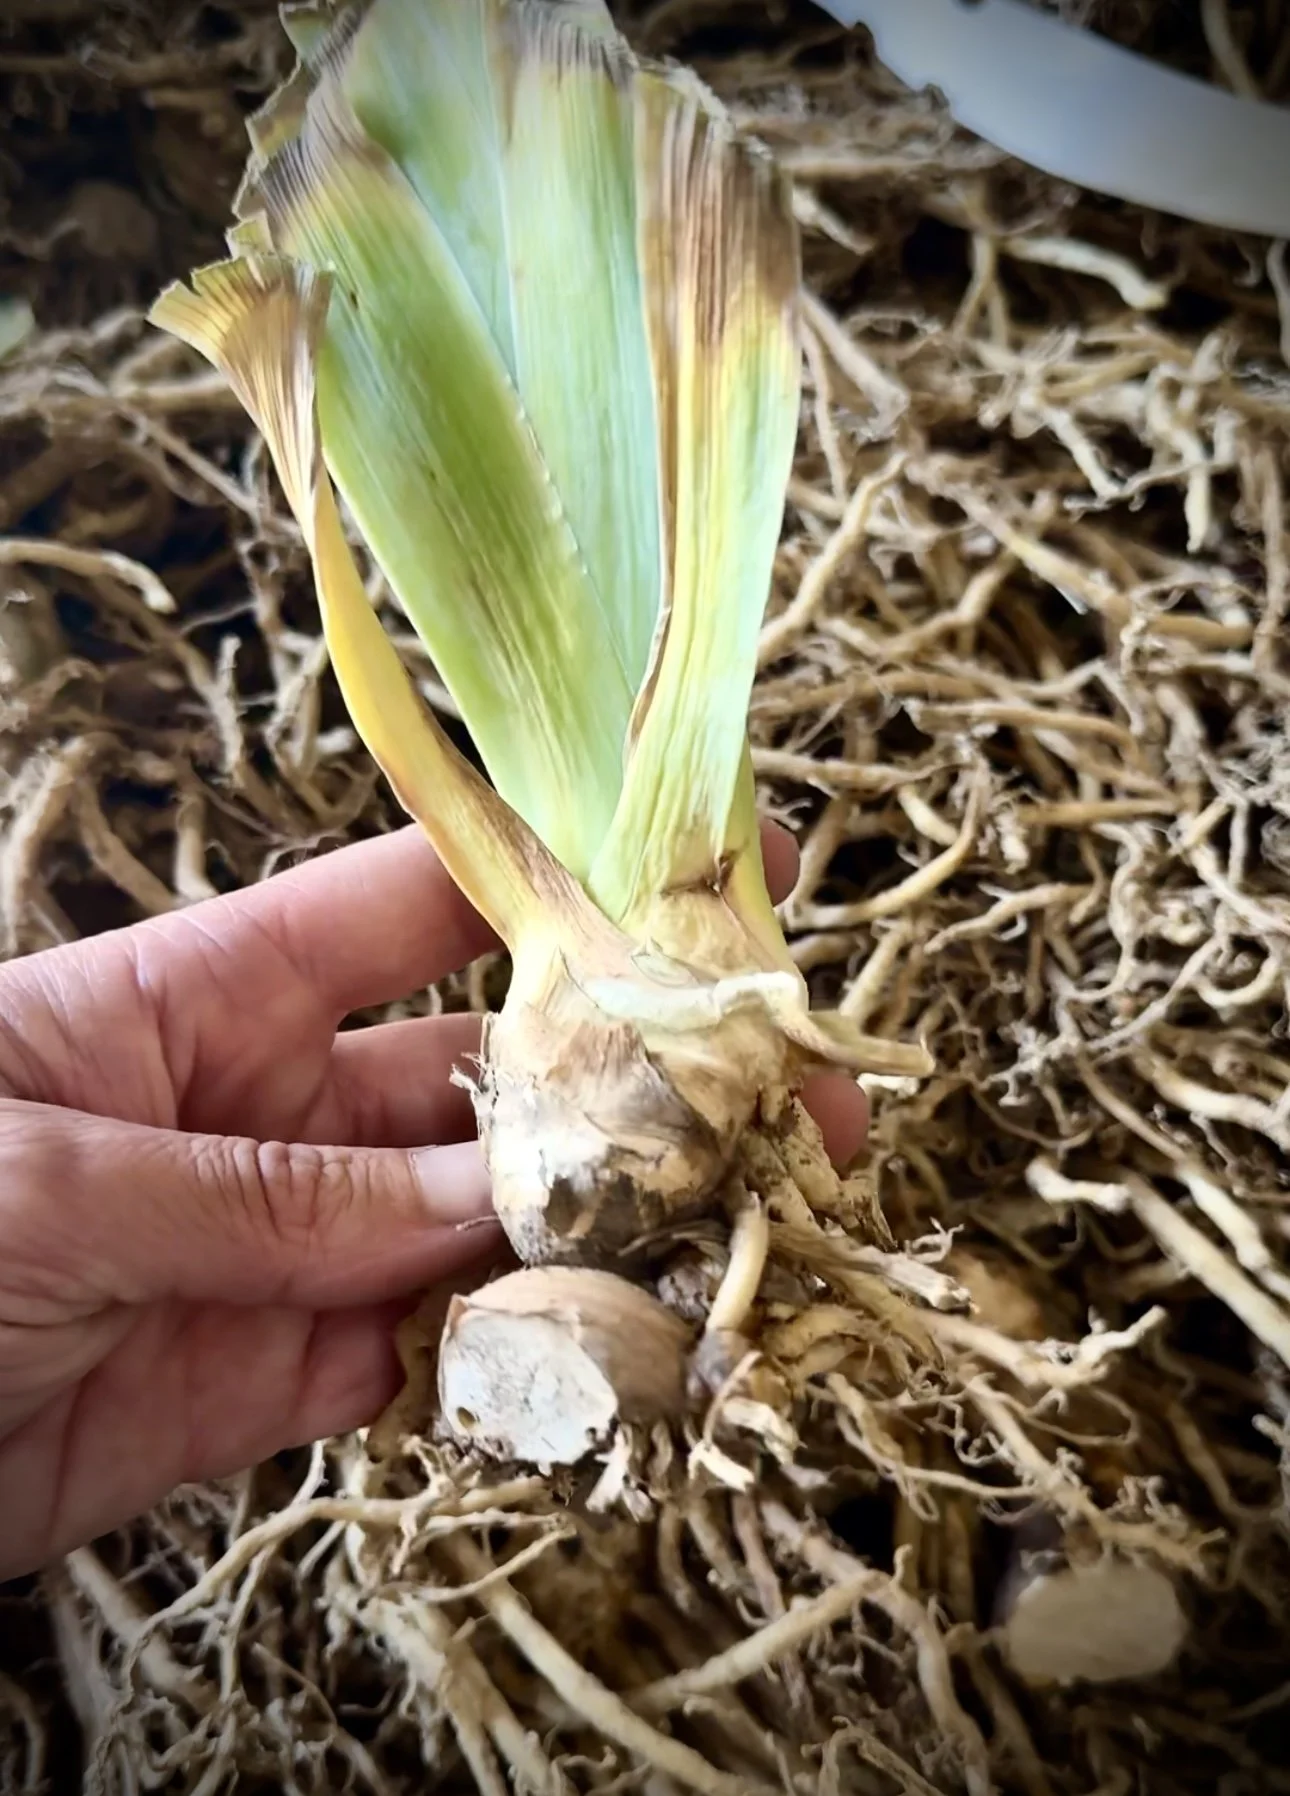
A single bearded iris division.
Replanting
Replant divisions as you would new rhizomes (see “Planting” above).
Allow space for new growth.
Scaling Up
Many cut flower farmers dig and divide annually on a rotating basis—sectioning the field into thirds and dividing a portion each year to keep production high and staggered.
Tips for Cut Flower Production Success
Cultivar choice matters: Choose irises with strong stems and long bloom stalks (24"+) for the floral market.
Label each variety clearly when planting—iris colors can look similar in foliage stage.
Succession strategies: Use early-, mid-, and late-season blooming cultivars to extend your harvest window.
Market advantage: Offer pre-bloom stems with color hints to florists, and open blooms for market bouquets.
Bearded irises are a valuable addition to your cut flower lineup—offering dramatic form, nostalgic appeal, and spring-to-early-summer beauty. They can become a reliable and stunning staple on your farm.