Planting, Growing, & Harvesting Alstroemeria
Alstroemeria (Peruvian lily) plants have, for decades, been nearly absent from wholesale plant availability lists for US growers with small cut flower farms.
But times are shifting and opportunities to grow them are popping up. And that’s great news, because they are easy to grow, and pest/disease resistant.
The newest hybrids are still under close control of breeders, and require contracts for growing. They can be expensive and require contract and royalty renewals over time if plants are not destroyed when contracts are set to expire.
But there are also some other plants in the marketplace that can be grown without contracts. We’re proud to carry a special line of alstroemerias that are more accessible financially and offer greater cold hardiness.
Here are our recommendations for working with alstroemeria.
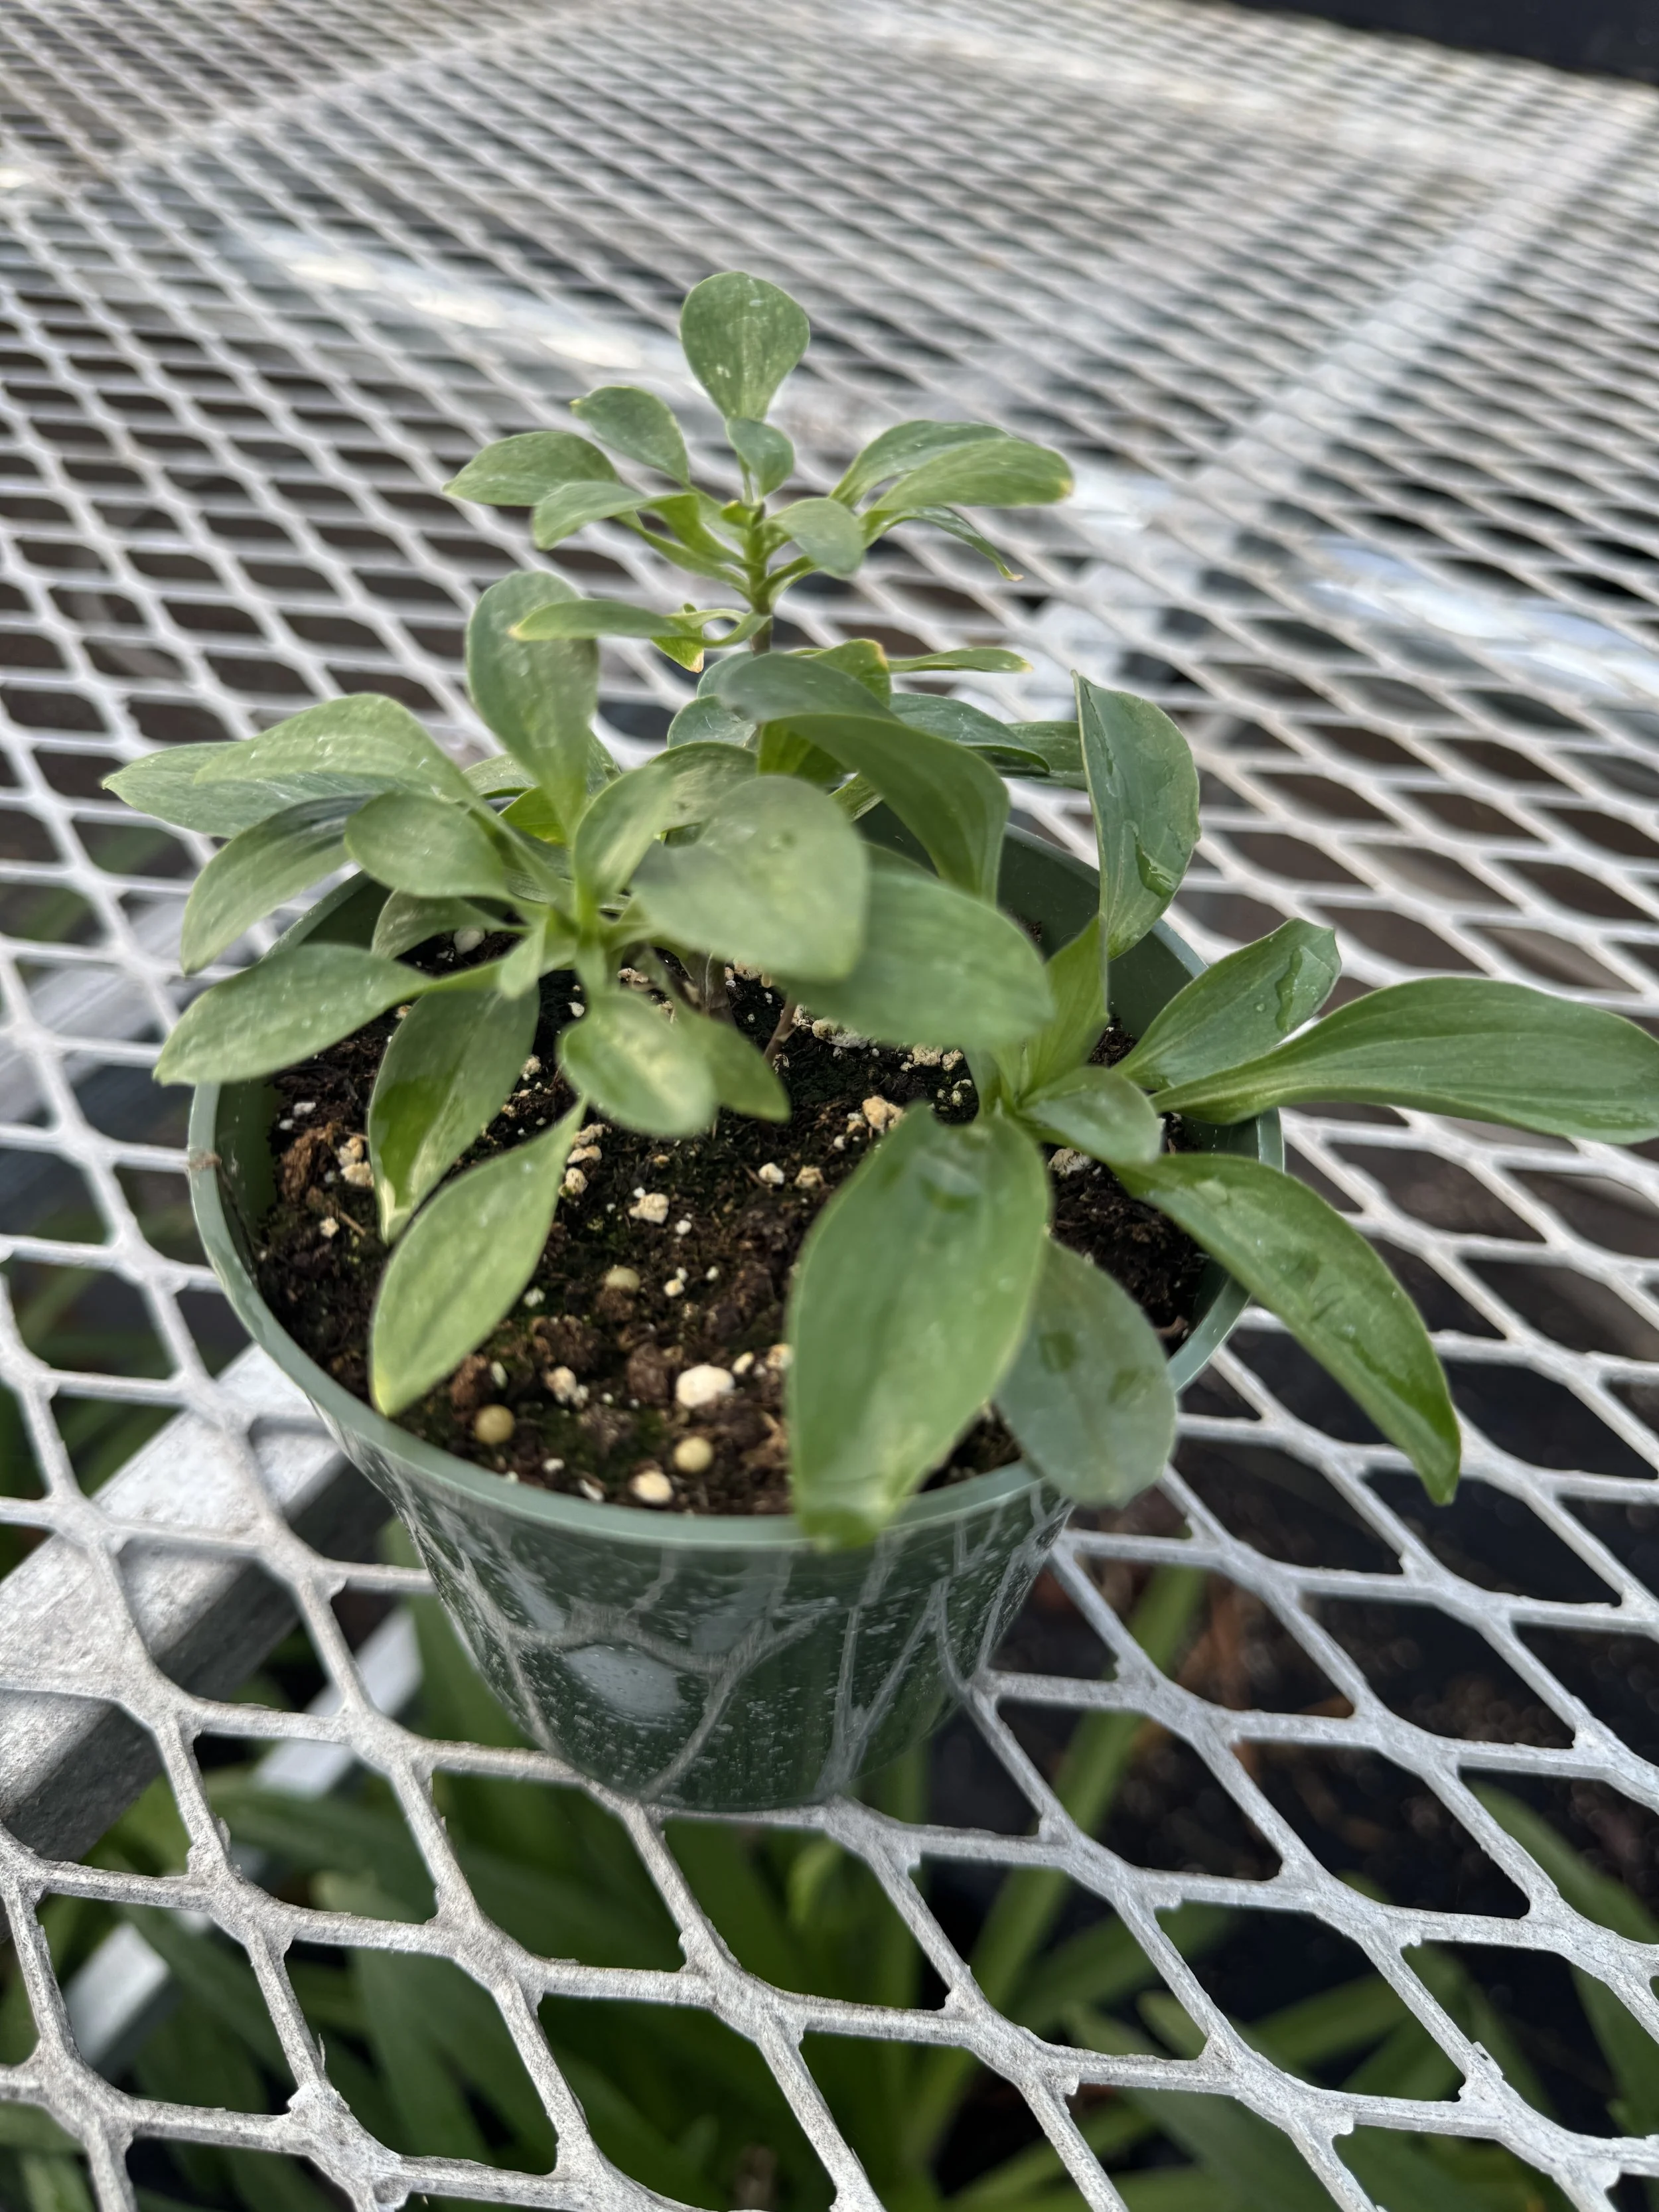
Alstroemeria starter plant.
Planting:
Look for moist, but well-draining soil.
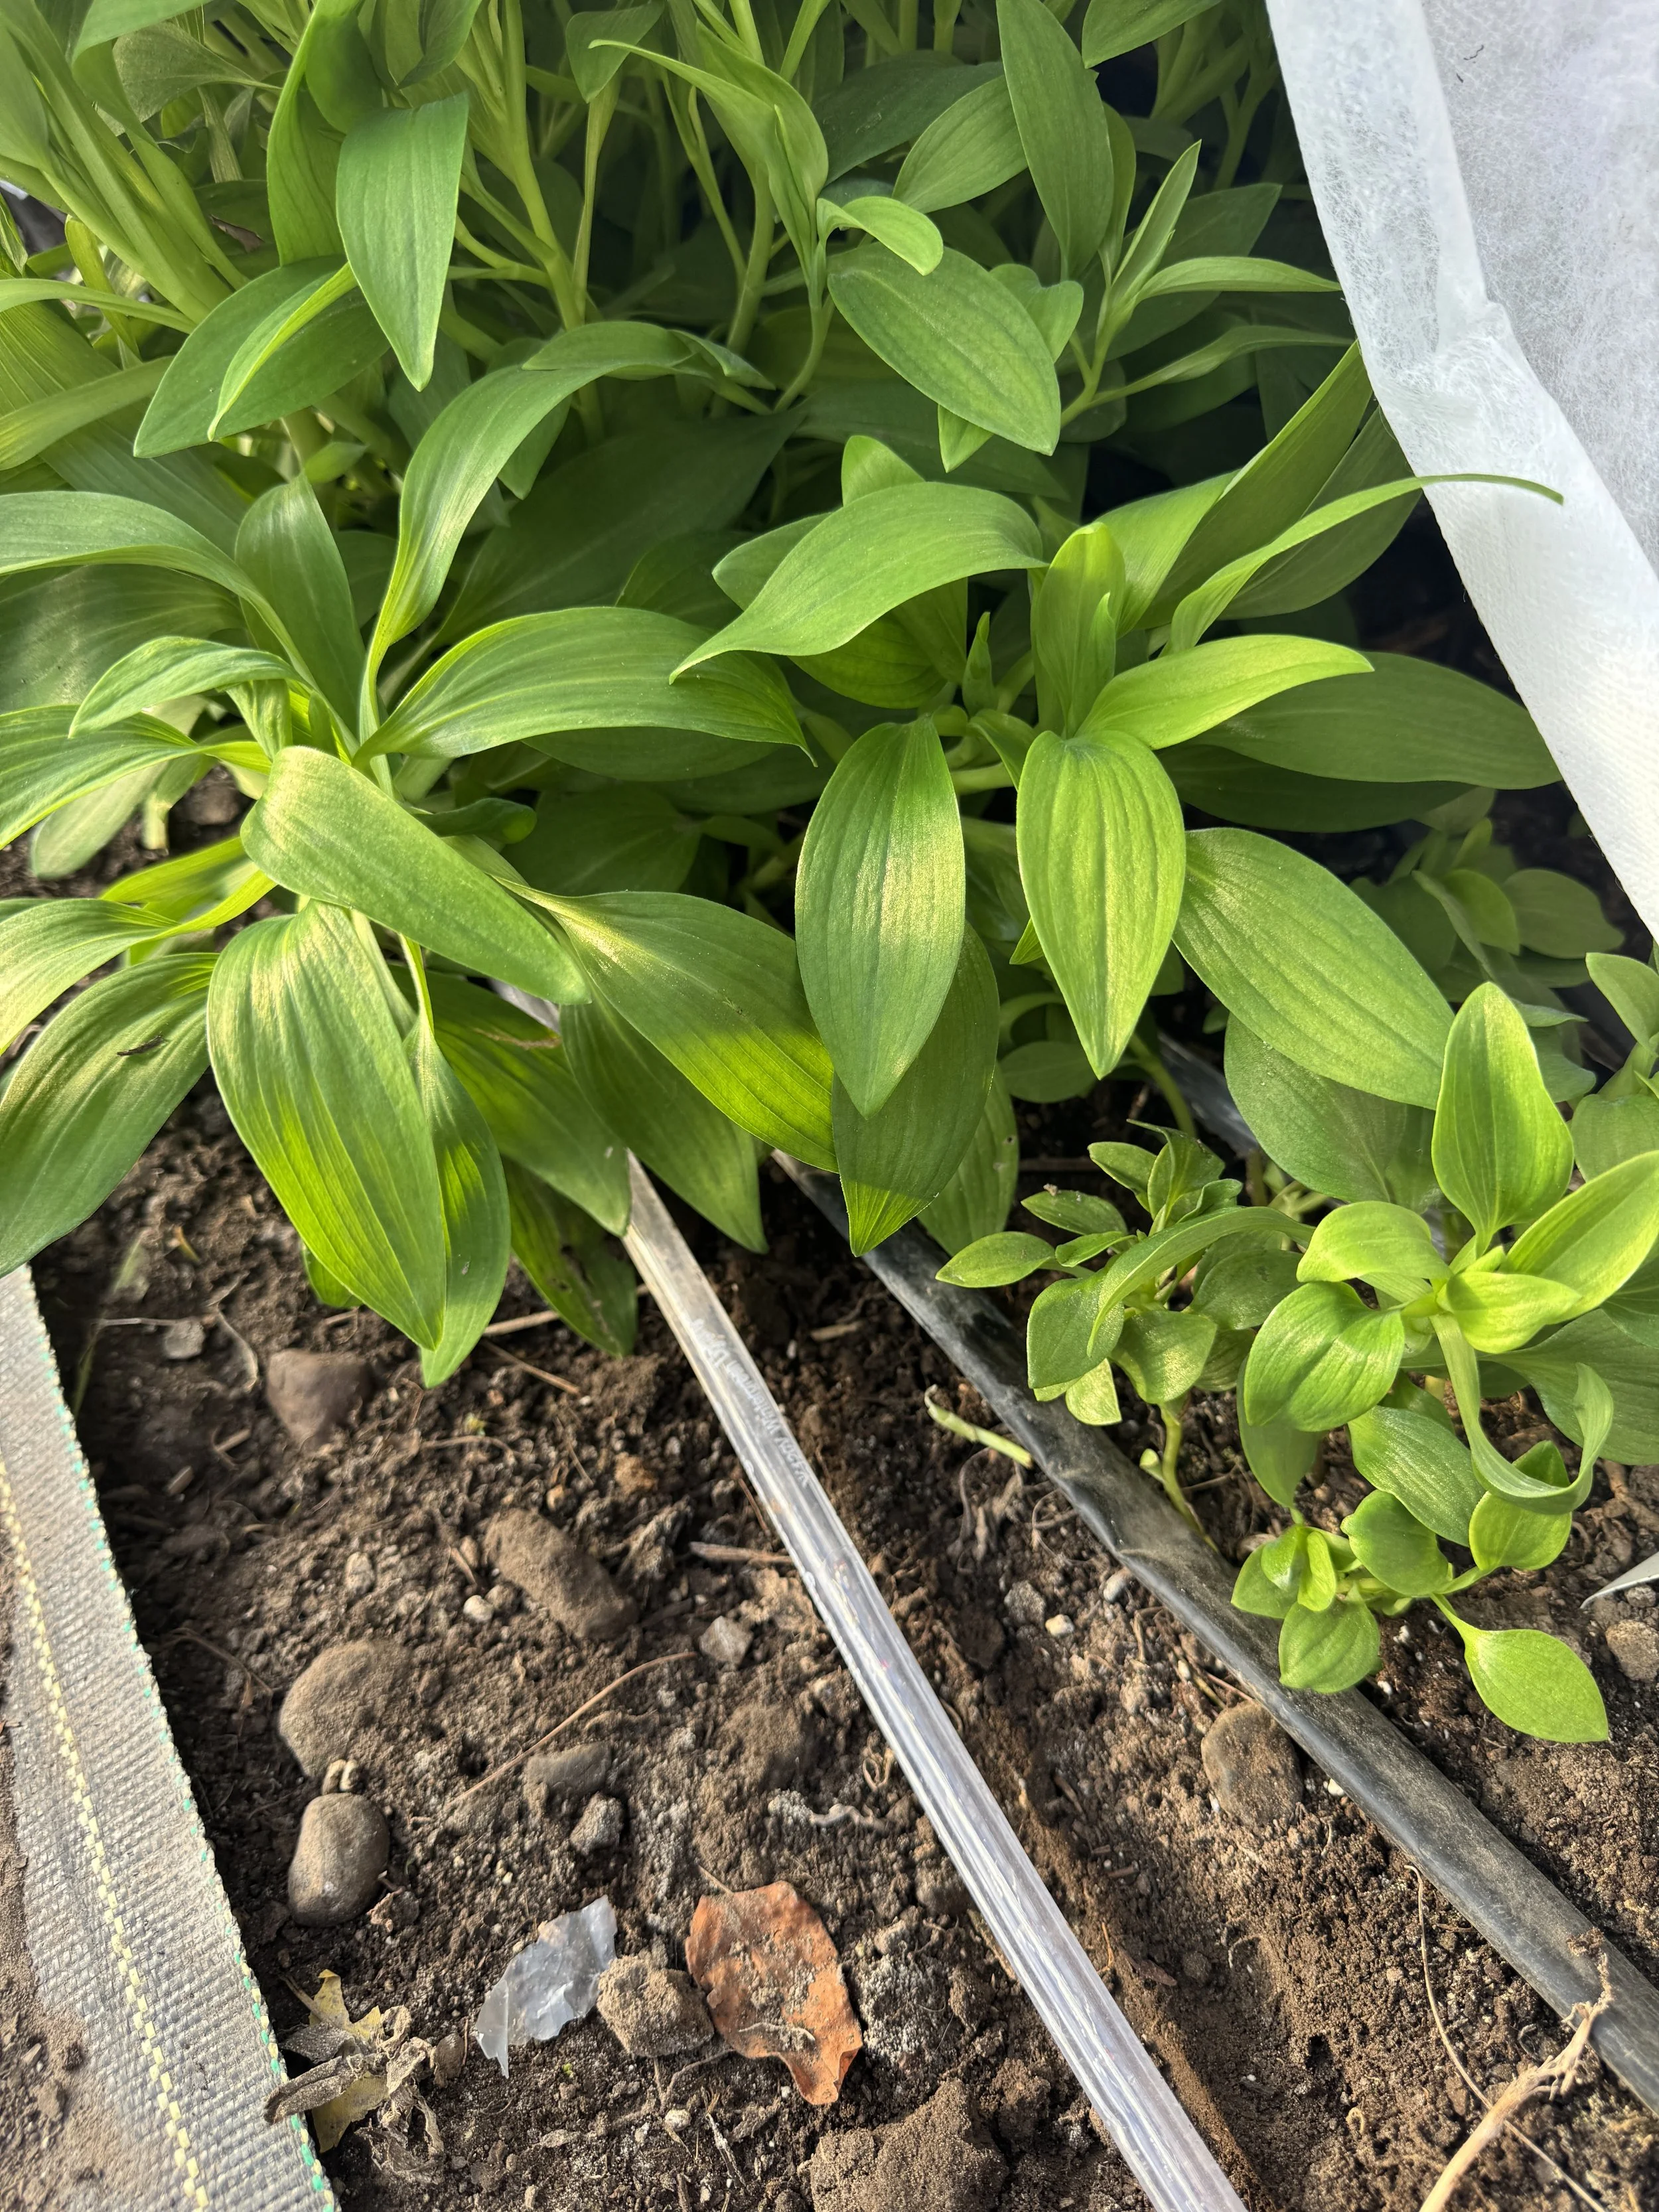
We plant our alstroemeria in long rows that are two plants wide and we leave about 6-10 inches of space between plants and about a foot between the two rows.
Plant alstroemerias so that the soil surface lands at the intersection of the the stems and root system. Do not bury them. They will develop a large tuberous root system, growing larger and larger each year.
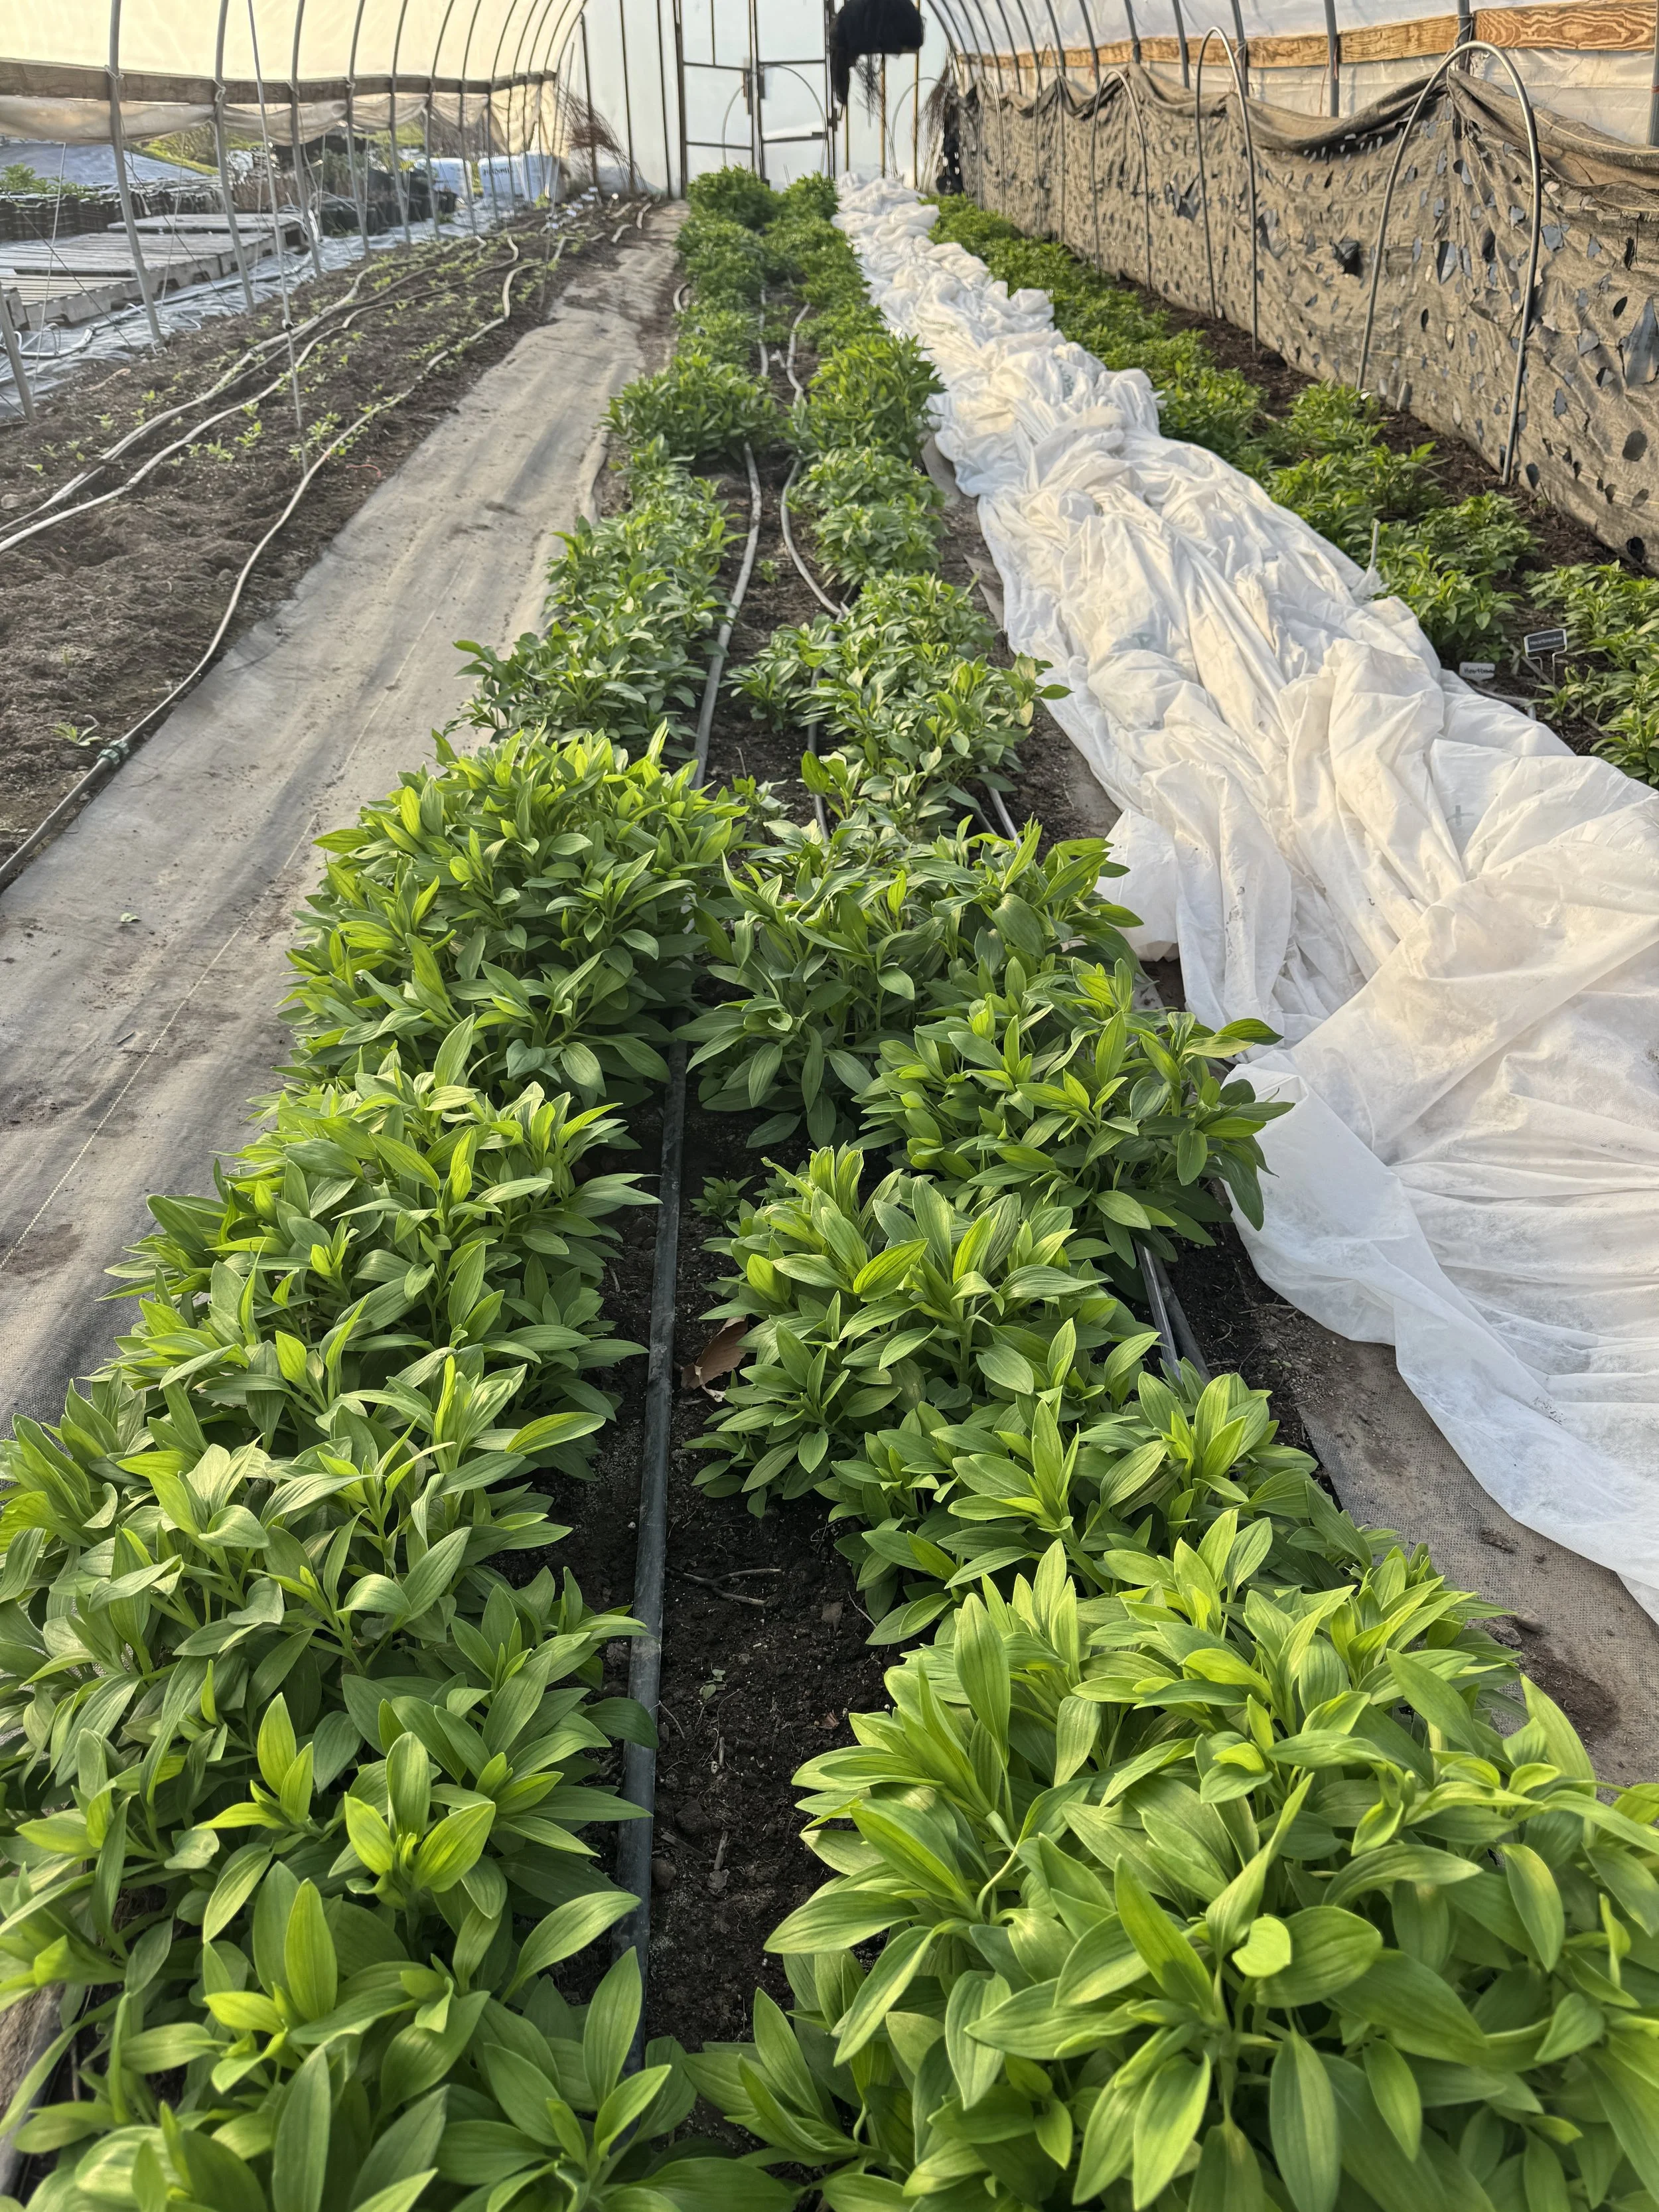
Alstroemeria row (2 lines with about a foot between them.)
Care:
Add horizontal netting to keep your plants and stems growing upright. In our experience, a coral is not enough. You’ll want to use horizontal cattle panels or netting that is stretched taught to help the stems grow straight. Your plants may need 2, or even 3 layers of support before they flower. They grow quickly, so prepare your horizontal supports and install them at planting or shortly after.
Water your plants in when planting and then only periodically. They prefer consistent moderate watering while growing and can be prone to rot if over-watered.
Alstroemeria are generally not fussy, but they can benefit from a fertilizer for growers who’d like to really dial things in. A high potassium fertilizer is recommended (like tomato fertilizer). If you are unsure of your soil health or content, we recommend having a soil test done. Let the testing agency know what you plant to grow in the space so they can make an appropriate recommendation to you.
Harvest:
Harvest alstroemeria when the first buds have colored up, but not opened, for the longest vase life. Alstroemeria have a very long vase life.
To harvest alstroemeria, reach down to the crown of the plant, grasp a stem and pull straight up. The stem will pop off the rhizome. If the plant is in it’s first season, you may want to gently hold down the soil near the base of the plant as you harvest stems so that the plant does not become dislodged. This method of harvesting (pulling the stems) serves 2 purposes: it prevents mechanical damage, which can transfer disease between plants, and it encourages the plant to re-grow and produce more stems. Do not cut alstroemeria plants.
Store harvested alstroemeria stems in clean water, in buckets in a cool space. Use a flower cooler if you can. The temperature can be set at 34-40F (standard floral cooler temps).
Alstroemeria have a very long shelf life when harvested at the proper stage. They are also easy to transport and ship.
Flowering seasons:
Once established, alstroemeria flower heavily in the early summer, become dormant during the hottest weeks of the year in warm climates, and then return with more blooms in the fall. In our cold climate, they flower all season long, with only a slight slow down for mid summer heat.
Are you a cold climate grower? If yes, read on.
Many alstroemeria varieties are untested in the coldest climates. They’s been bred for greenhouse production or landscape growing in warm climates.
We’ve found that they can sometimes survive uncovered inside of our unheated tunnels, but other seasons are too cold for them. You really want to prevent the soil and tuberous root system from feezing. Our solution is to clean up the plants to the crown in the early winter, before the ground freezes in the tunnel. We pull off all the foliage that is browning from fall frosts.
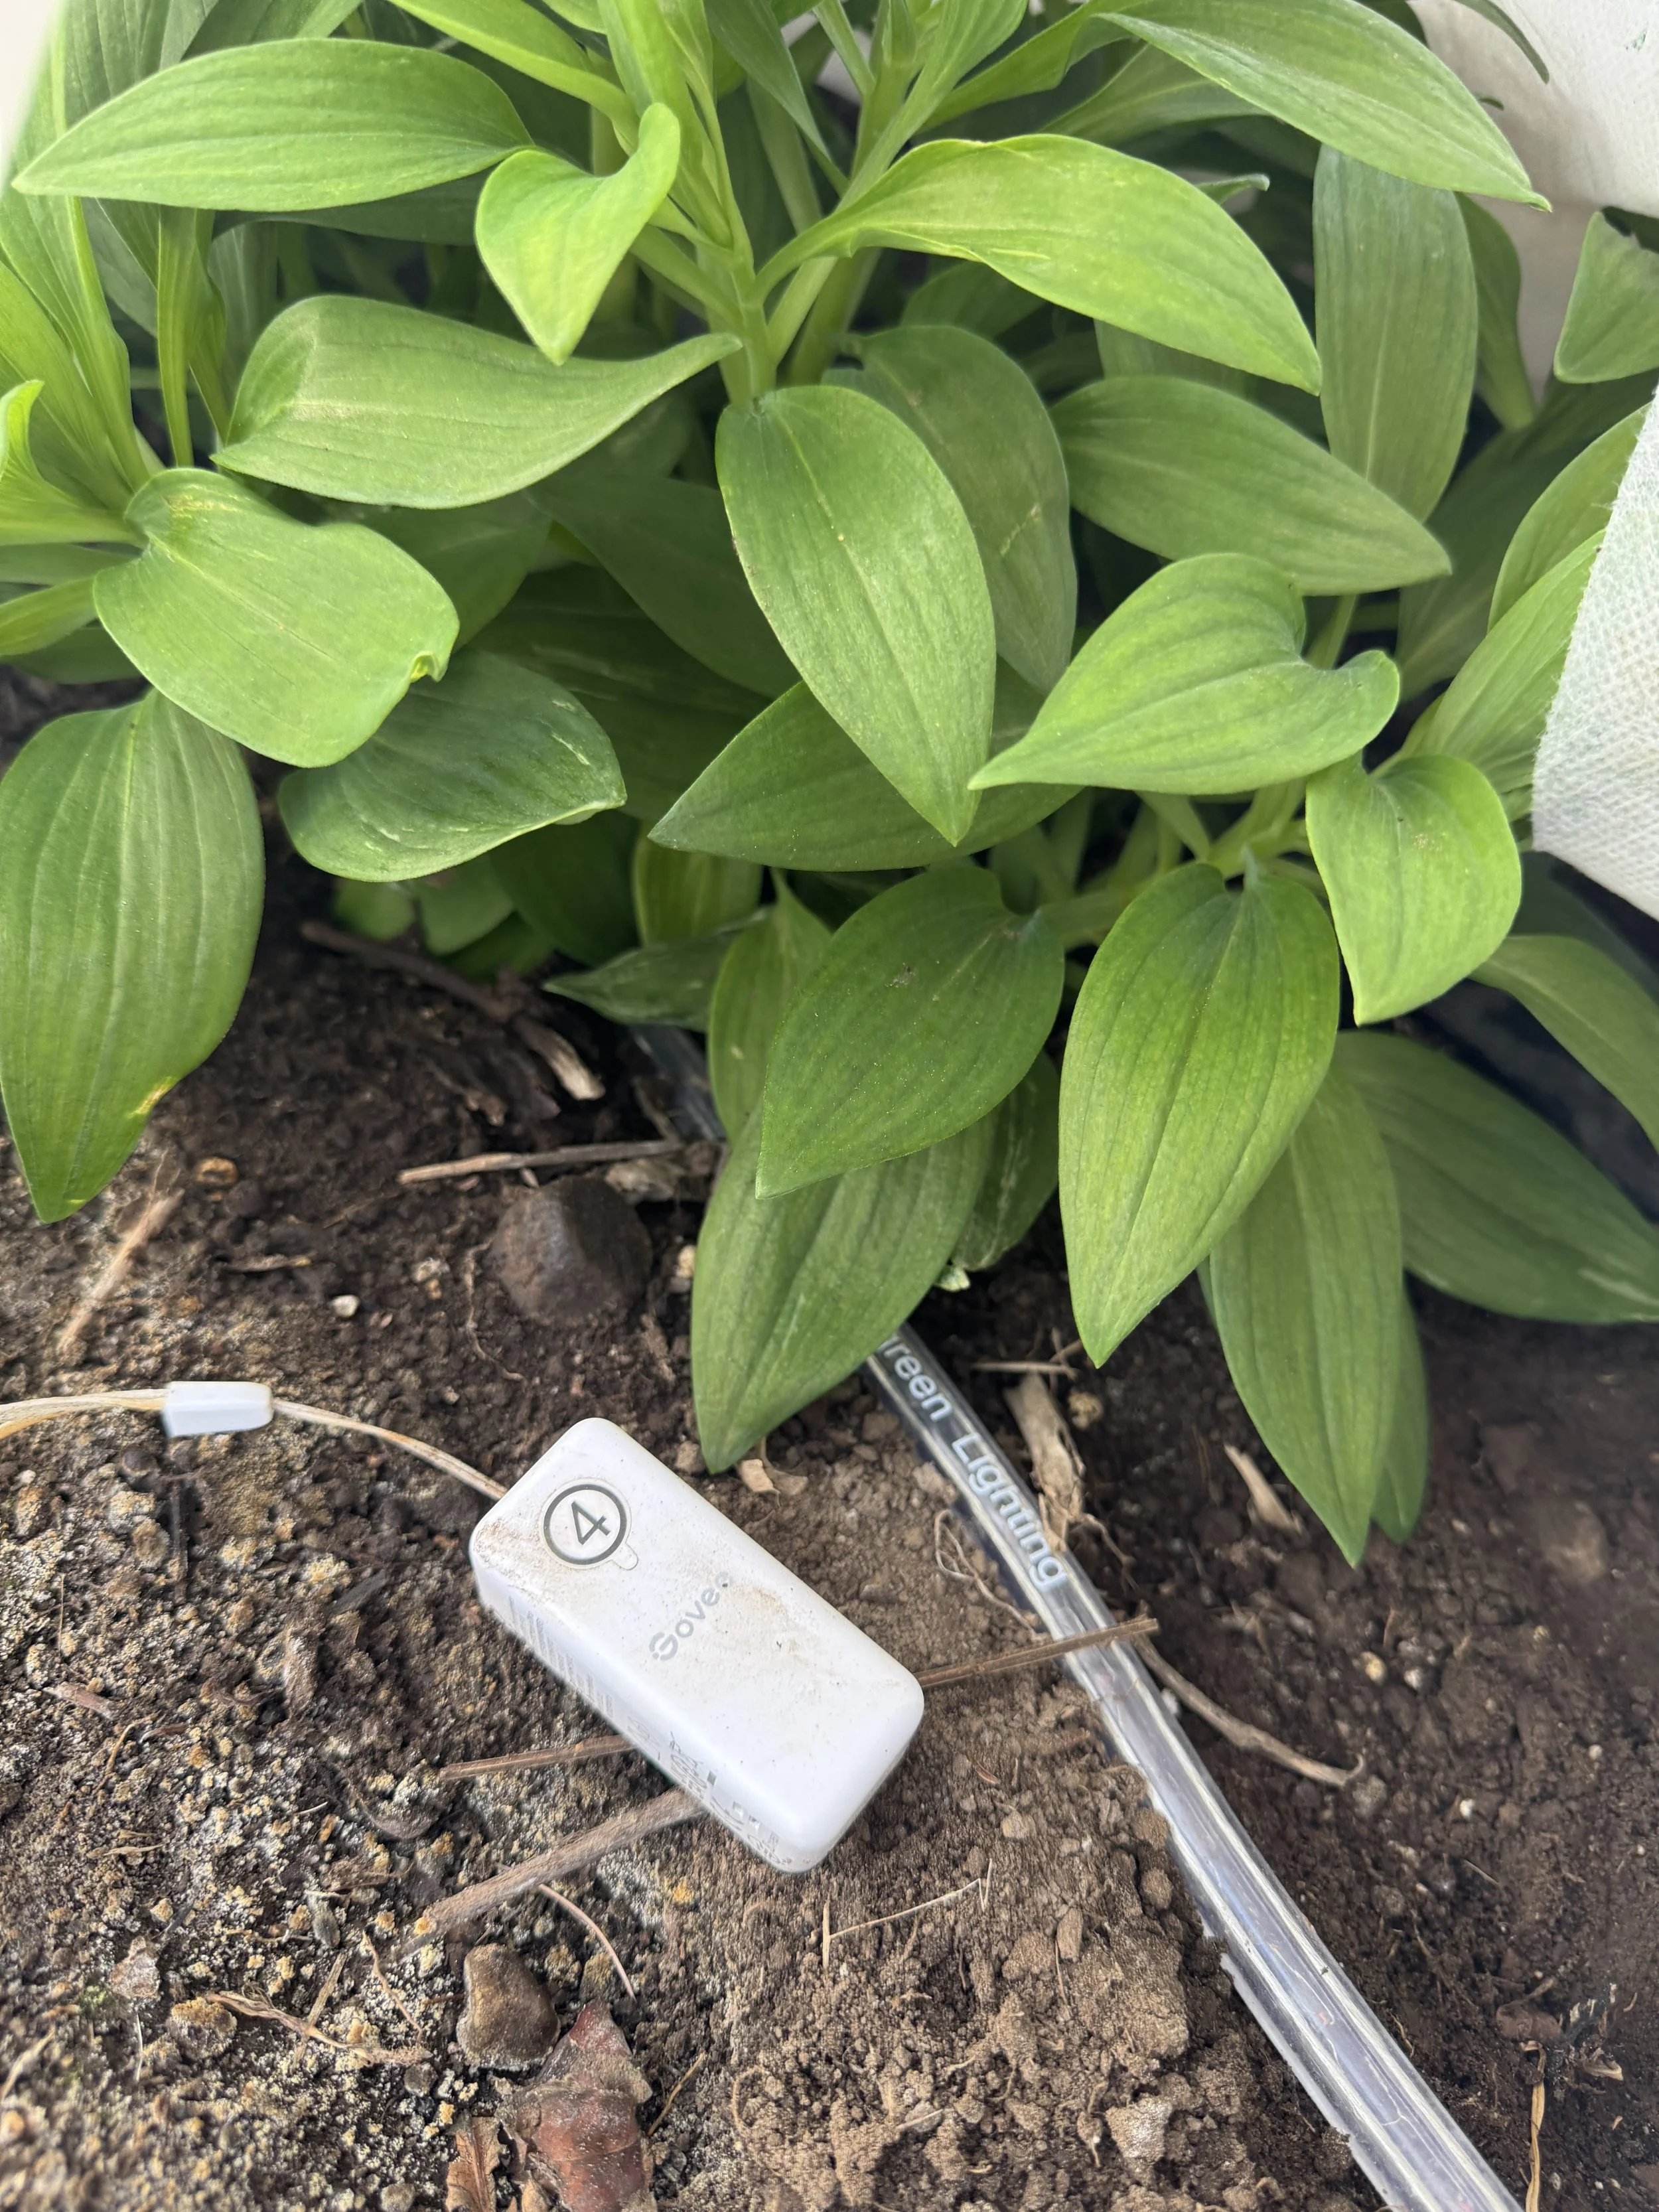
We lay down a strip of encased holiday lights like the following along each line of plantings. (So, there are two strips of lights on each bed.) We use a brand called “Wintergreen”.
We cover the plants and encased lights with a couple layers of frost cloth. Then, we add a layer of black landscape fabric to collect heat. And finally, we put a piece of greenhouse tunnel plastic on top, to help hold heat in. We do this inside of an unheated caterpillar tunnel here in USDA zone 5a. You could also set up a similar layered system in a low tunnel.
*A note about winter rodent pressure: GOOD NEWS! Alstroemeria is toxic to rodents. While your plants are cozy and warm under these layers, they will be unbothered by rodents, who are happy to burrow and stay warm near the plants, but do not eat them.
Lights are used to heat the soil during winter in our cold climate.
Alstroemeria plants are dormant in the winter in cold climates and do not require watering. When you start to see them peak up in the spring, you can remove the layers, but keep the frost cloth close at hand for covering your plants on nights when they may see frost. If they are frosted, the foliage may die back some, but the plants will recover as long as the tuberous roots survive. Remove any dead/damaged foliage to prevent stress on the plant.
We use a Govee temperature sensor (see below) to monitor and track the the temps in our beds. Even on our coldest nights — when we see air temps of -25F, the soil and beds remain unfrozen at 34F. An Inkbird thermostatically controlled outlet turns the lights on when the temperature in the bed falls to 40F or colder.
This low input heating method allows us to grow many perennials that are otherwise too tender in our climate. If you’re interest in learning more about our own flower farm, visit www.littlefarmhouseflowers.com.